Part 3 – Trailing Sine Wave
This is article 3 in our multi-part series on developing a custom shader for Unity 3D. In this article we will be modifying our sine wave function so instead of moving uniformly across the surface of our sphere it appears to “travel” across the surface.
First, let’s create a few parameters we’ll use later to control the look of our wave. Add the following lines right below _Amplitude.
static half _WaveFalloff = 4;

static half _MinWaveSize = 1;

static half _MaxWaveDistortion = 1;
Now, let’s adjust the amplitude of our sine wave based on the distance from the “origin” of our wave. To do that, we’re going to need our vertex’s position in world space, not local to the model. Luckily Unity provides a matrix so we can make that conversion quickly. Add the following line to the top of your vert function.
float4 world_space_vertex = mul(unity_ObjectToWorld, v.vertex);
This line simply takes the vertex’s local position and multiplies it by the Unity provided matrix unity_ObjectToWorld which brings the vertex into world space.
The mul() Function
There are a number of built-in or intrinsic functions when writing shaders. These are generally consistent across Cg, HLSL, GLSL. For a list of built-in Cg functions please consult this wiki.
Now we’re going to create a variable that tracks the origin of our wave. Add the following line right after world_space_vertex.
float4 origin = float4(1.0, 0.0, 0.0, 0.0);
Exciting, right? For now, we’re just going to offset our origin slightly to the right of our model. Because our example model is a sphere, if we used 0,0,0 as the origin of the wave the entire sphere would have the same distance and, well, our shader would look the same! If you’re using your own model, you might have to offset this more or less. We will expand on this later to be much more dynamic. Now we need to determine the distance between our vertex and the origin. Luckily the distance() function does just that. Add the following lines to your vert function.
//Get the distance in world space from our vertex to the wave origin.

float dist = distance(world_space_vertex, origin);
//Adjust our distance to be non-linear.

dist = pow(dist, _WaveFalloff);
//Set the max amount a wave can be distorted based on distance.

dist = max(dist, _MaxWaveDistortion);
These three lines could easily be condensed down to a single line, but I wanted to separate them out so they would be easy to experiment with by adjusting the associated parameter or commenting out completely. The pow function makes it so our waves fall off very quickly as they get farther away from the origin. The max function keeps our waves from going too crazy when the vertex lies directly on, or very near, the origin. Last thing to do is to actually include this value in our vertex calculation line. Update it to the following.
v.vertex.xyz += v.normal * sin(v.vertex.x * _Frequency + _Time.y) * _Amplitude * (1 / dist);
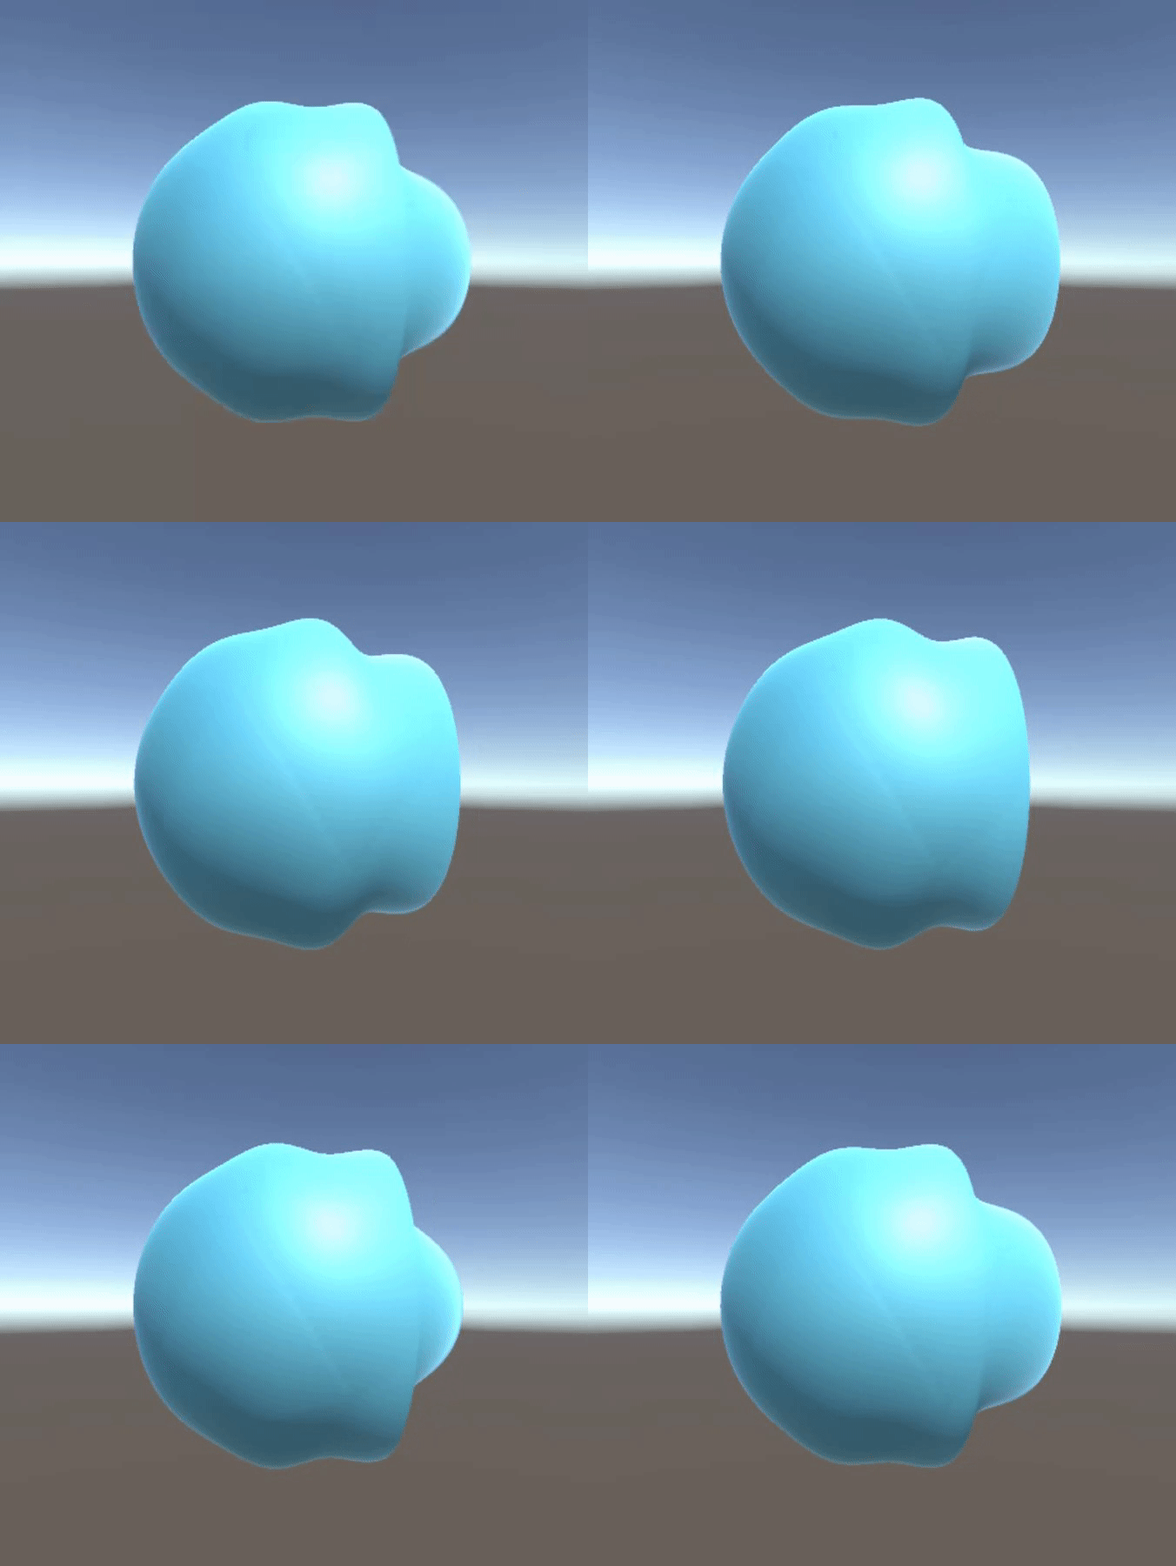
You’ll notice we’re adjusting the amplitude based on the inverse of the distance. If we just used dist our waves would get larger the farther we got from the origin. Your sphere should look vaguely like the following:

Now that we have a wave that’s more intense at the wave “origin” let’s make that origin travel across the sphere to simulate a shockwave. First lets add a new property just below _MaxWaveDistortion.
static half _ImpactSpeed = 0.2;
And let’s update our origin initializer so that it’s value is offset by _Time.
float4 origin = float4(1.0 - _Time.y * _ImpactSpeed, 0.0, 0.0, 0.0);
The x coordinate of our origin will start at 1.0 and move to the left as _Time increases over time with the additional factor of _ImpactSpeed included so we can control how quickly that origin changes.
I encourage you to take a moment to play with _WaveFalloff, _MaxWaveDistortion, and _ImpactSpeed before moving on to the next article.
